Container Management with Portainer
Docker containers offer a streamlined solution for deploying applications, alleviating concerns about conflicting dependencies. However, as the number of applications deployed via Docker containers grows, managing these hosts becomes increasingly complex. Portainer has been instrumental in addressing this issue by providing a central server that allows connectivity to all containers across a network. This blog will focus on installing Portainer and exploring its fundamental features.
Installing Portainer Server
To initiate the Portainer server, ensure your system is updated and install docker-compose.
1
2
sudo apt-get update && sudo apt-get upgrade -y
sudo apt install docker-compose -y
Next, create a data volume for Portainer and run the Docker command to install it. Once completed, Portainer will be available at port 9443.
1
2
sudo docker volume create portainer_data
sudo docker run -d -p 9443:9443 --name portainer --restart=always -v /var/run/docker.sock:/var/run/docker.sock -v portainer_data:/data portainer/portainer-ce:latest
Overview
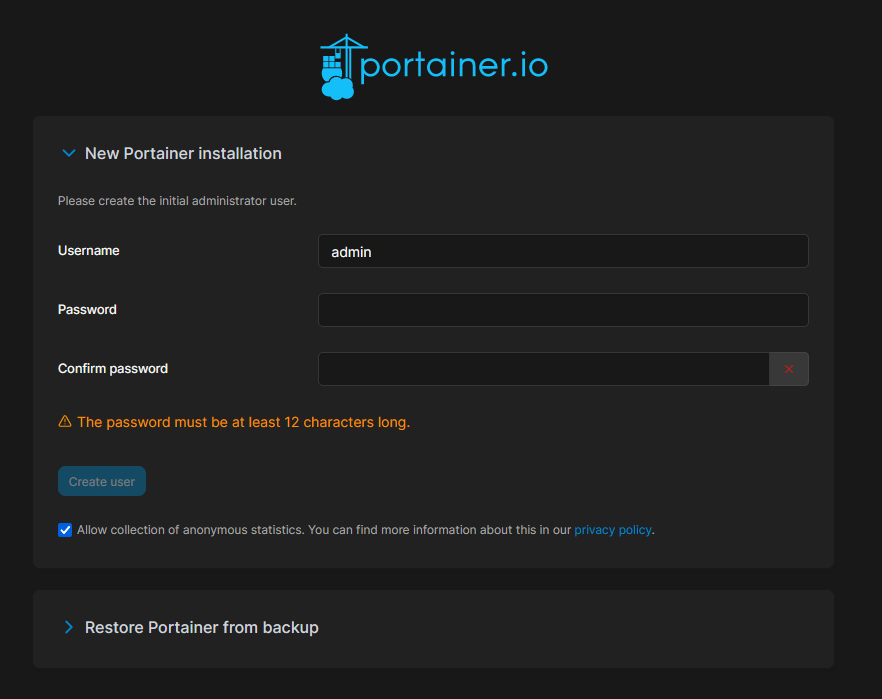
Upon accessing the web interface, you can opt to set up Portainer as a new instance or restore from a backup. For a fresh instance, input an admin username and password..
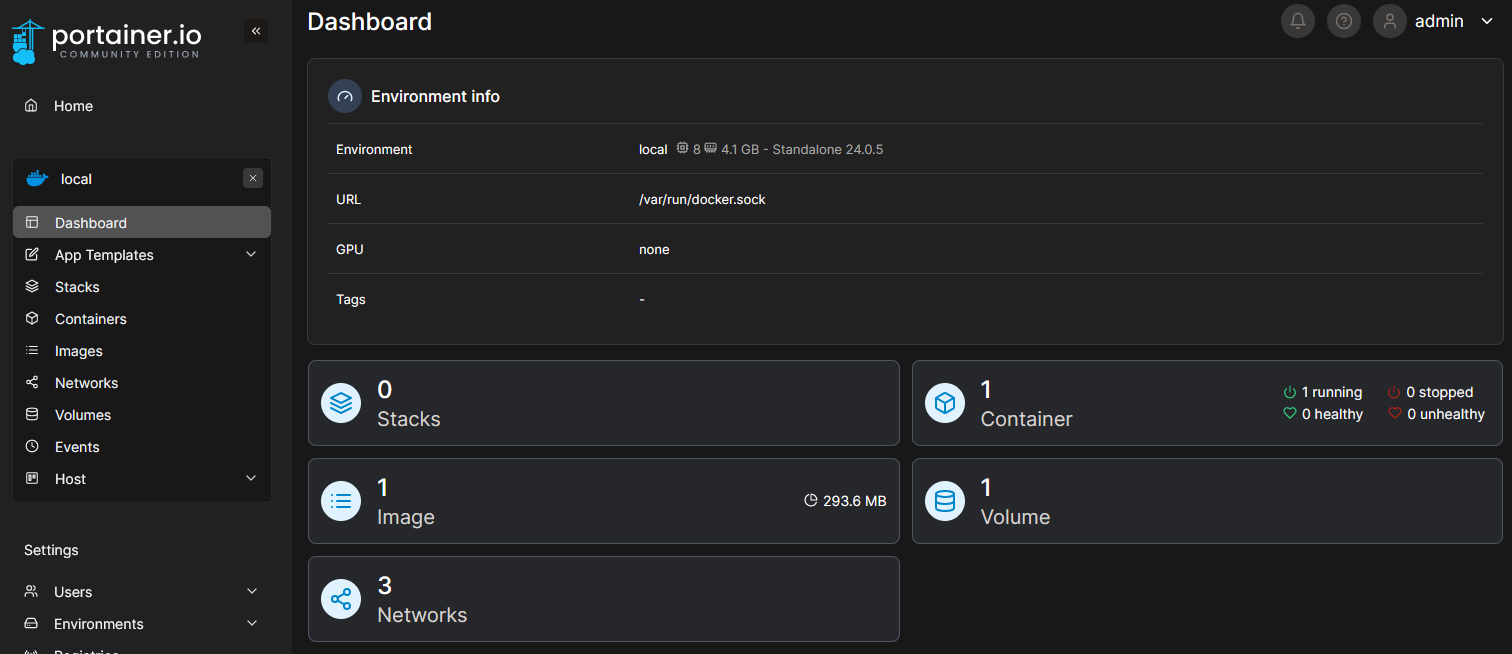
The main Portainer dashboard displays settings on the left-hand side, including users, environments, registries, logs, notifications, and general configurations. For default usage, no immediate adjustments are necessary, but note that SSL cert setup and configuration backups can be managed in Settings.
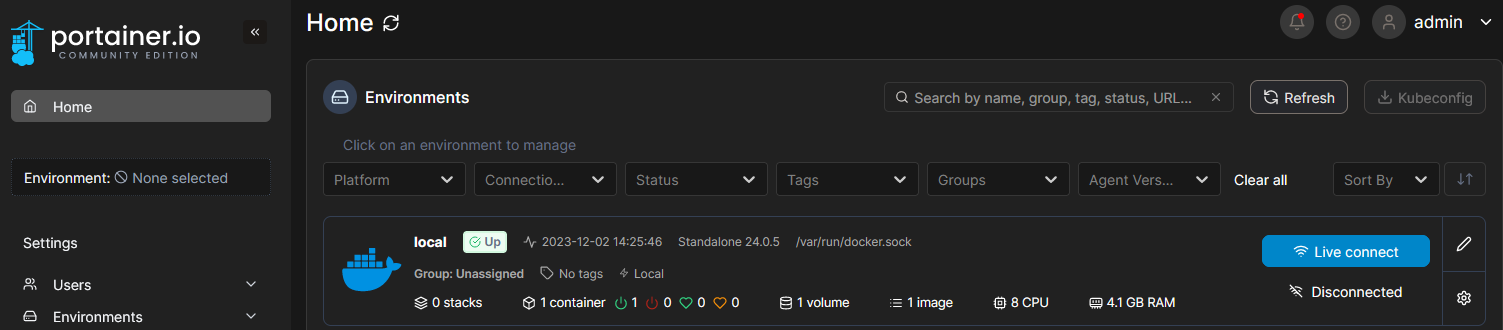
The pivotal area is within the environments section. The local Docker environment represents your Portainer host. As you install agents, they’ll appear here for management. Clicking on each node provides additional options and management capabilities for stacks, containers, images, volumes, and networks.
Installing and Connecting a Portainer Agent
To add your first node to your Portainer instance, navigate to Environments and click Add Environment. Next, select Docker Standalone and Start Wizard. Select Agent and copy command which you will run on your remote host. Now specify a node name you will remember this host as and fill in the address address with the port of 9001 at the end. If successful, the agent connection will establish a connection with Portainer and now will be able to be managemented with Portainer.

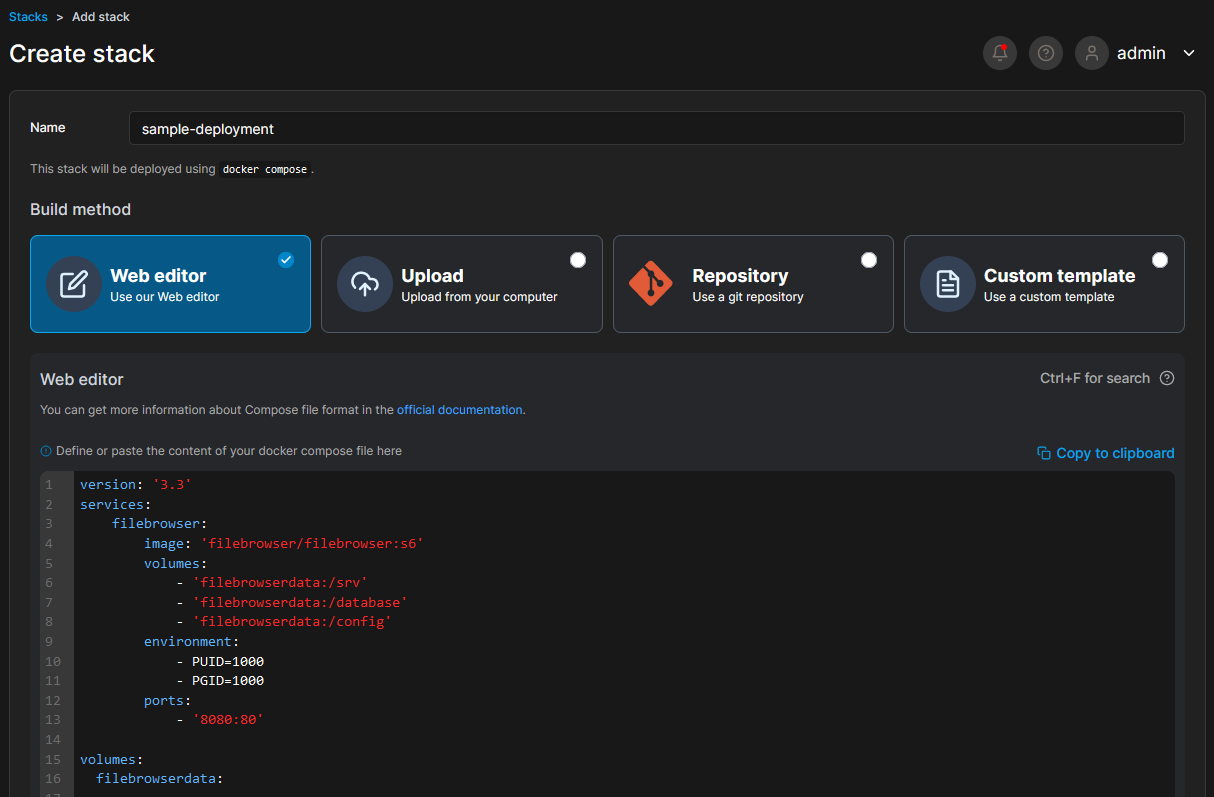
First deployement
Explore how Portainer deploys containers on remote hosts by returning to environment from the Home button. Go to Stacks, add a stack, and paste the sample Docker Compose file to run File Browser. Note if you have any envionrment variables for the stack you can add those here as well towards the bottom of the page. Now you should be able too access File Browser at port 8080 on the deployed host if the deployment was successful.
1
2
3
4
5
6
7
8
9
10
11
12
13
14
15
16
version: '3.3'
services:
    filebrowser:
        image: 'filebrowser/filebrowser:s6'
        volumes:
            - 'filebrowserdata:/srv'
            - 'filebrowserdata:/database'
            - 'filebrowserdata:/config'
        environment:
            - PUID=1000
            - PGID=1000
        ports:
            - '8080:80'

volumes:
  filebrowserdata:
You’re now set to further explore Portainer’s functionalities for managing Docker Containers across your environment!